July 15, 2022
Generating a (Static) Blog from Notion
This blog content is managed directly from within @NotionHQ. Here is a high-level presentation of the flow for anyone wishing to accomplish something similar.
For a more “practical” guide, I recommend reading Jake’s blog post, which achieved something similar — but more advanced — for his own blog. Jake is also the publisher of the notion-api NPM library wrapper for interacting with Notion’s API.
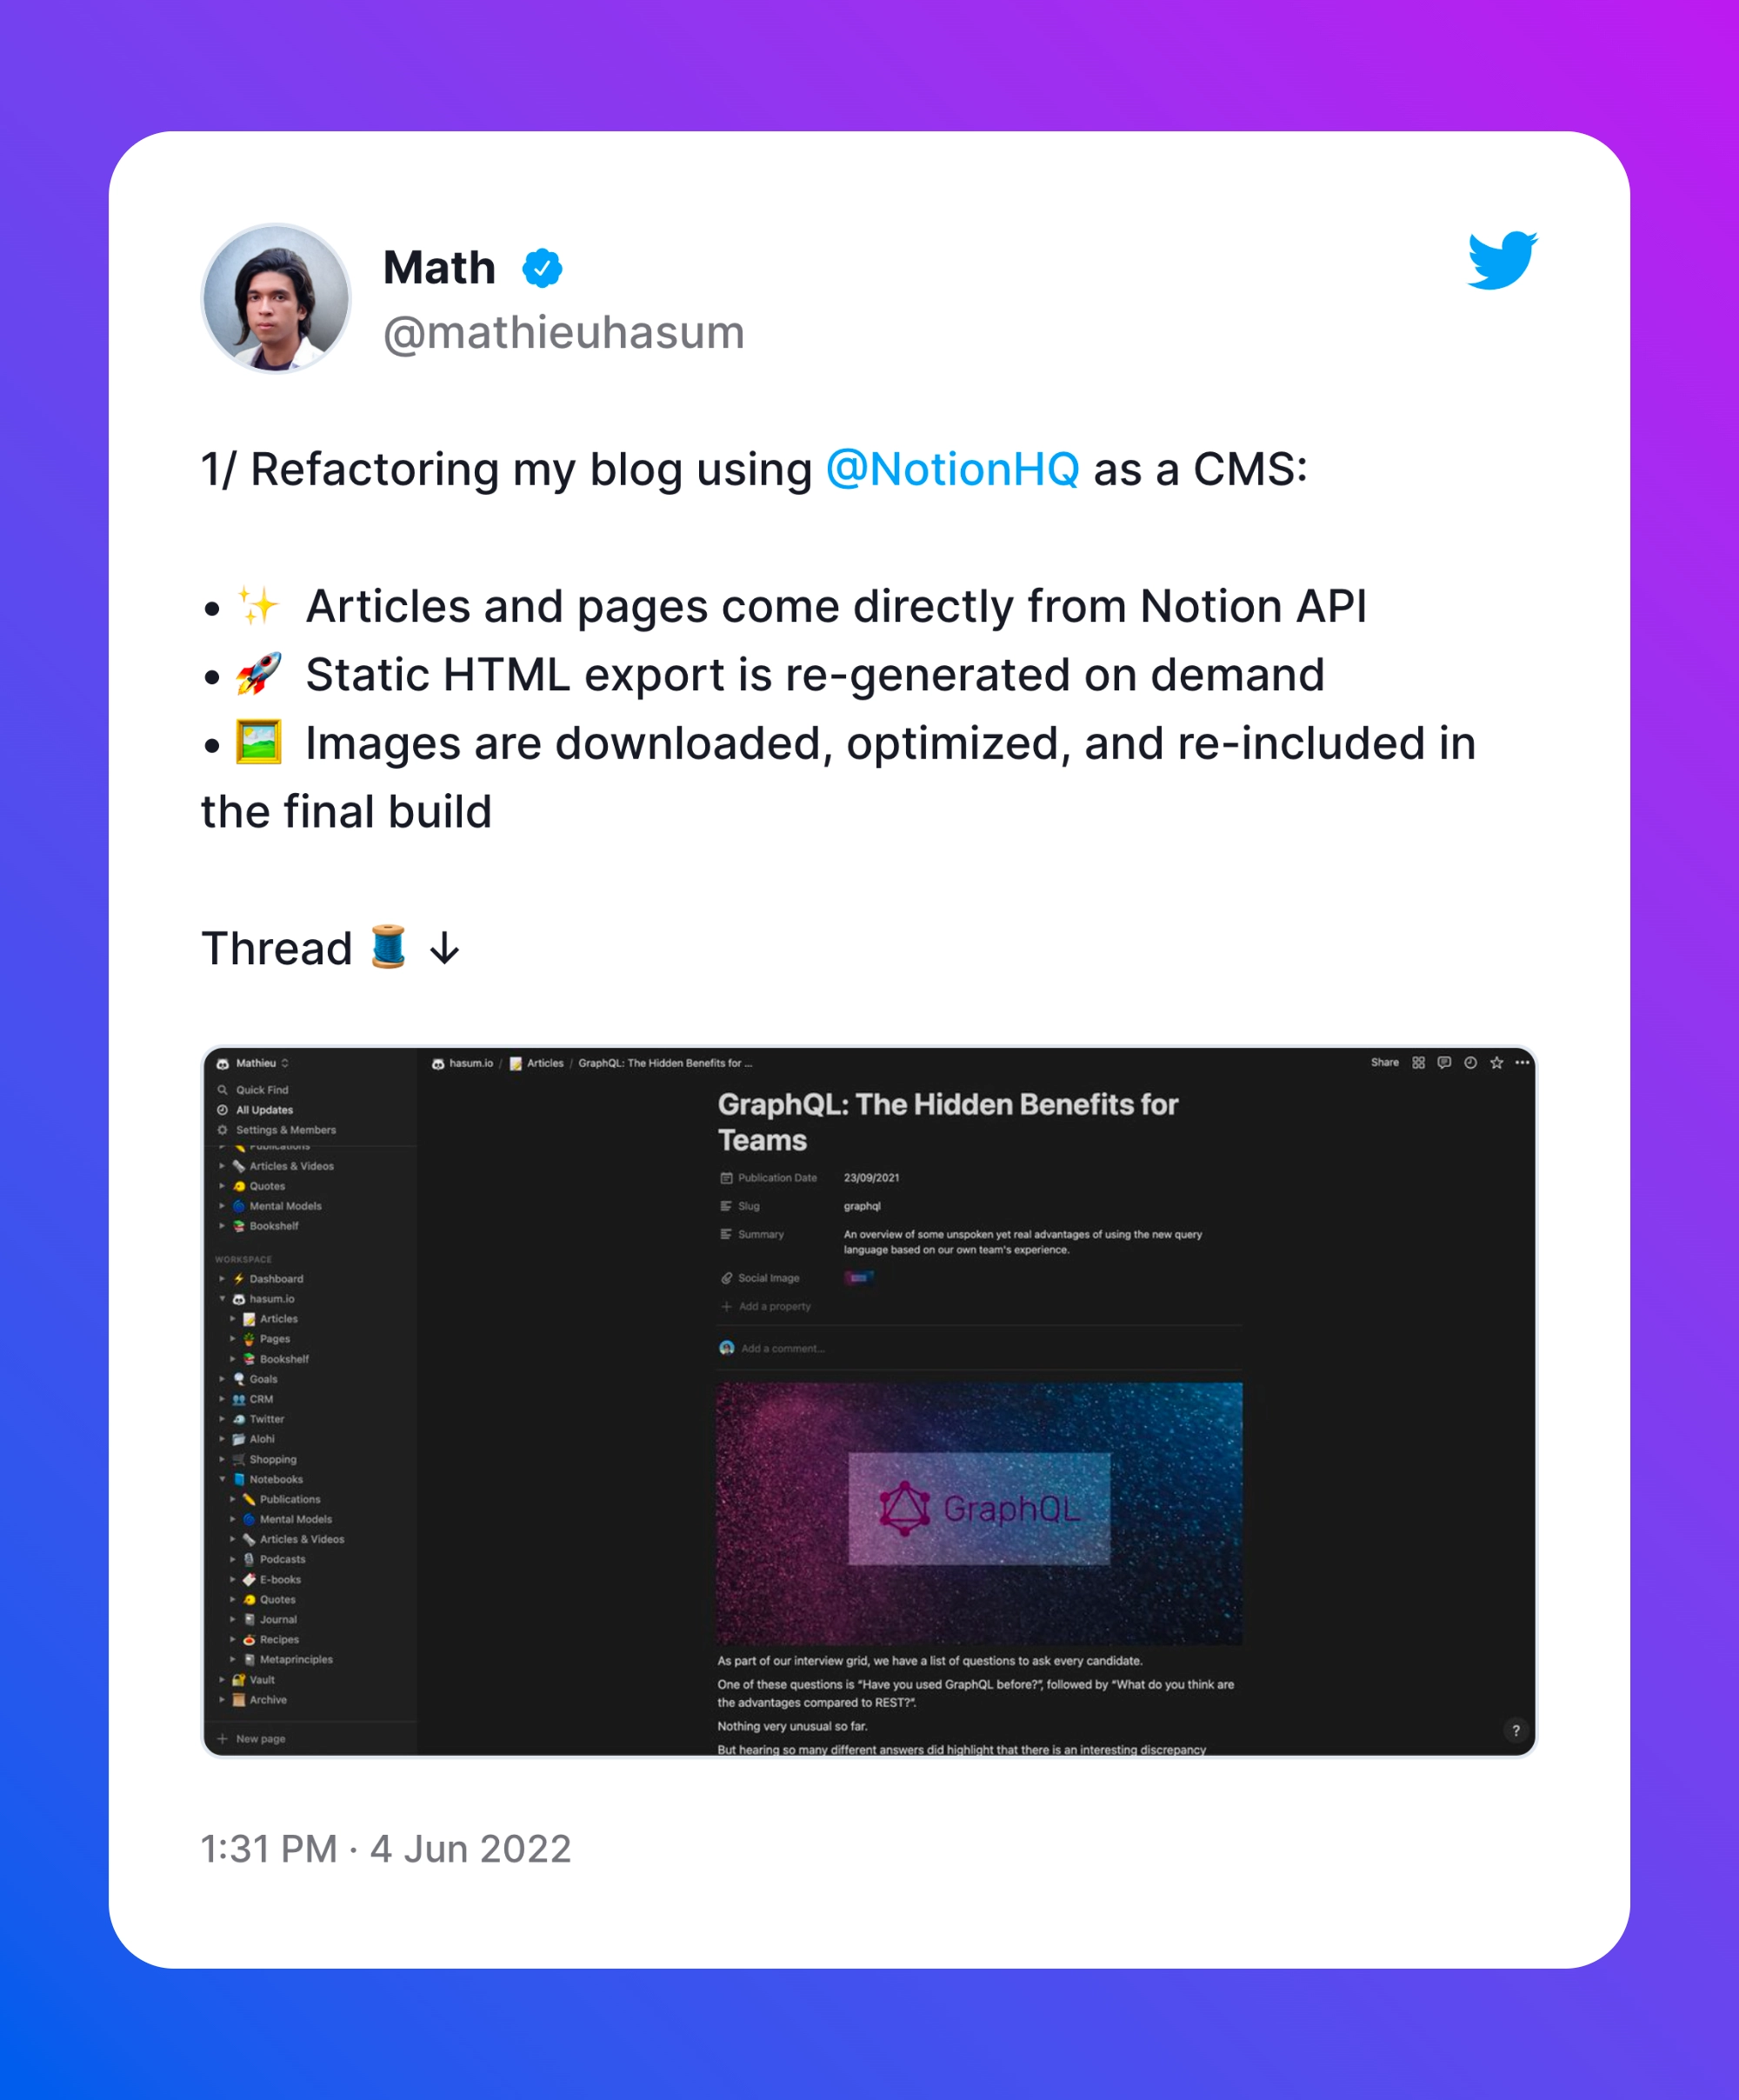
https://twitter.com/mathieuhasum/status/1533079056836710402
Context
The concept of creating and maintaining a website directly from Notion is not new.
There are many “Notion website generators”, with different approaches used over the years:
- The built-in “public” Notion pages (e.g. the Queue.so help center)
- “1st-gen” third-party website generators, extracting your website data via Notion public pages and “copying” them into your own custom domains (e.g. https://potion.so/ or https://notaku.so/)
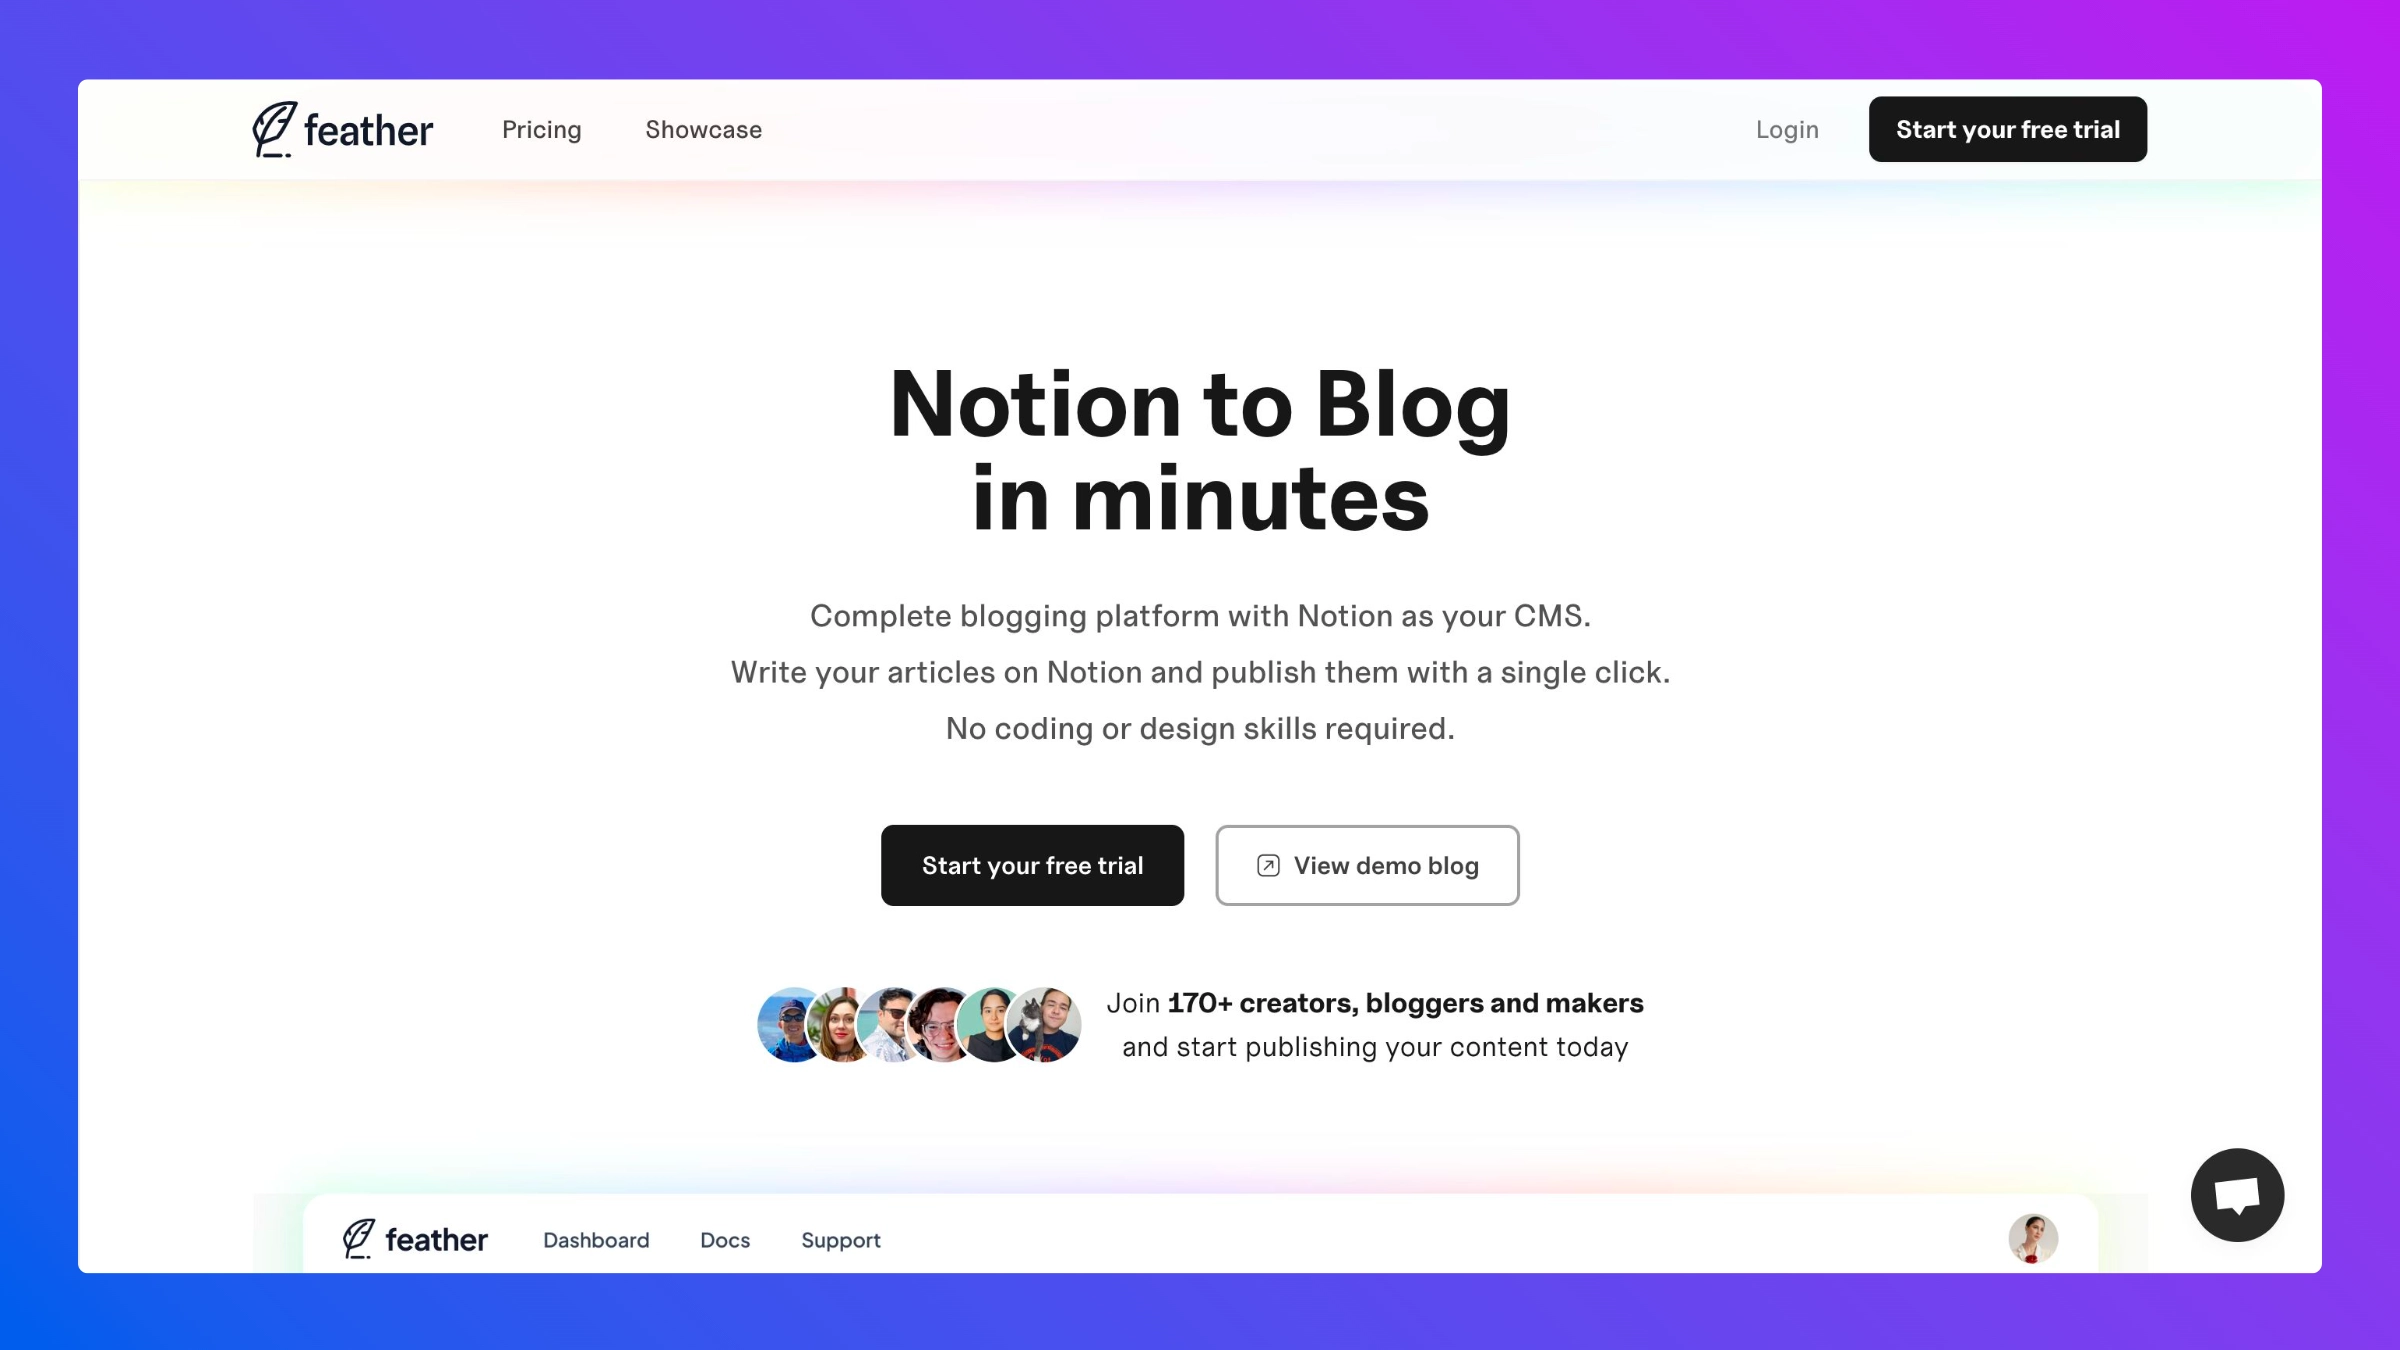
- “2nd-gen” third-party website generators connecting to Notion via the new Notion API (e.g. https://feather.so/)
Pioneers of Notion-powered websites initially used the built-in feature of making pages available publicly. This was a really convenient method to deploy content online in seconds: personal webpages, online CVs, FAQ sections, job descriptions… For example, check out the Queue.so help center which is (currently) hosted on a Notion page.
The main limitation of this approach is that Notion does not support custom domains. Your website would have to live on a notion.so subdomain.
More advanced third-party solutions then decided to tackle this missing feature by generating and hosting websites on a custom domain after scrapping the information from your Notion public page. This is a paid but convenient, low-effort, no-code solution.
Finally, the idea of managing website content without leaving Notion jumped to the next level after Notion introduced its API. This allows developers to seamlessly connect to Notion databases without having to require some hand-made scrapping solutions.
This enables the more complex solutions to emerge, using the full power of Notion for content management, while allowing a lot of customization. A cool example is Feather.so which provides a very complete suite plugged on top of your Notion database.
The bottom line is that if you are in the market for an off-the-shelf solution, you have many options available today… but at the same time, it has never been easier to implement your own tailored solution and host it yourself thanks to the API.
Here are some ideas if you are willing to write some custom code.
1/ Set Up Notion as a CMS
Notion is great for writing notes and documentation. Therefore, it is inherently great as a CMS. Having everything in Notion makes it easier to just jump into writing and content management.
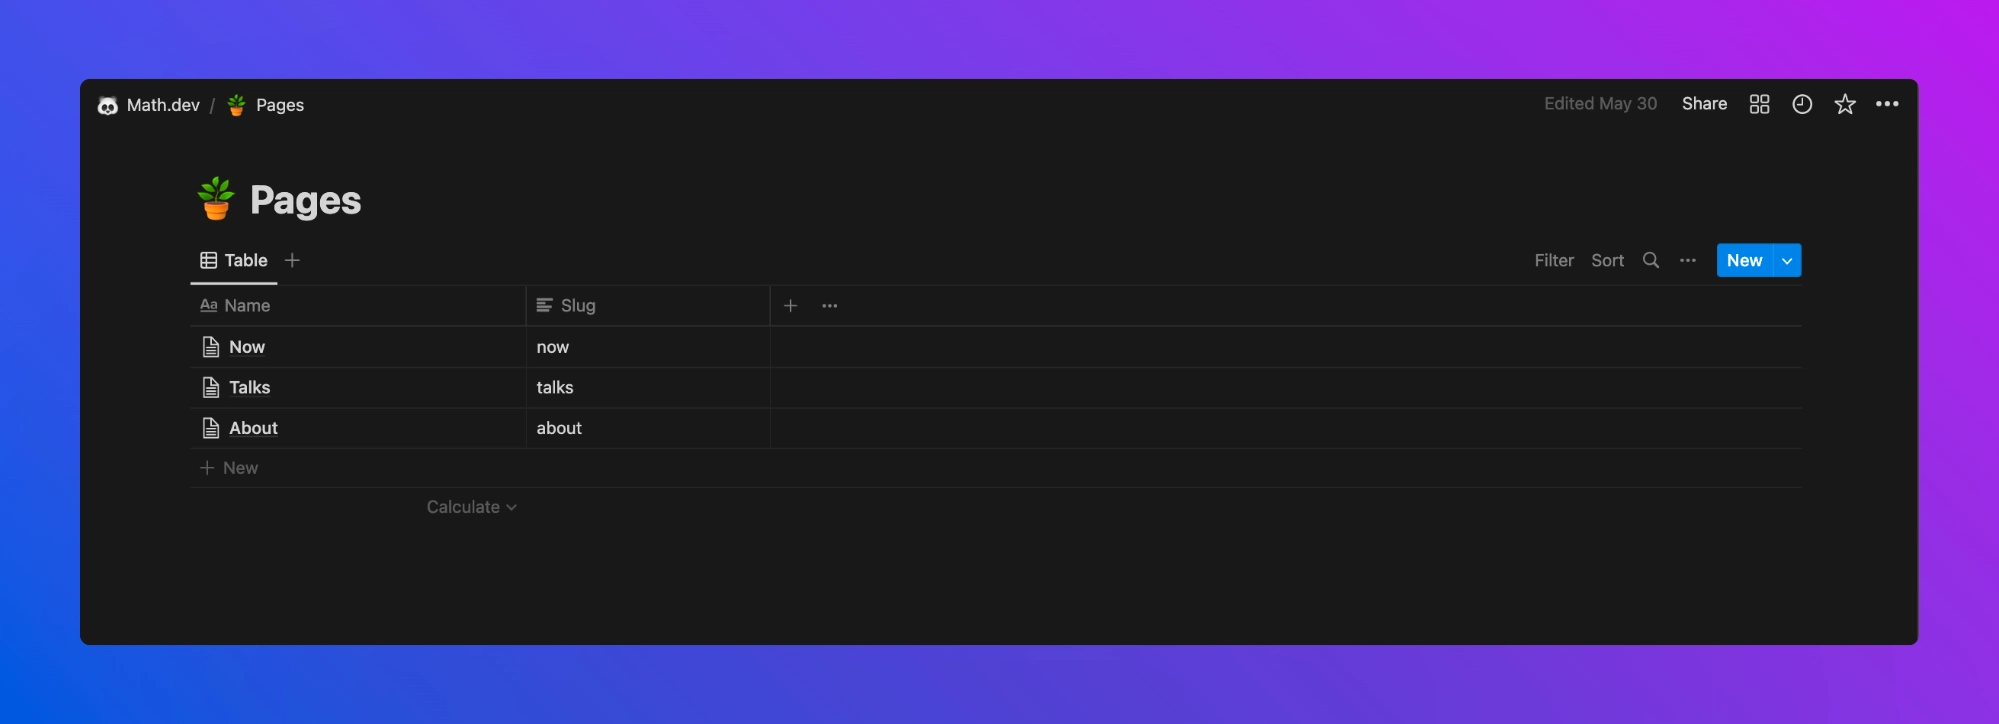
In the case of this blog, two databases were set up:
- One Notion database for blog articles: including a Publication Date field and Slug properties. The Summary and Social Image columns can be used for metadata and OpenGraph previews (Slack, Whatsapp…).
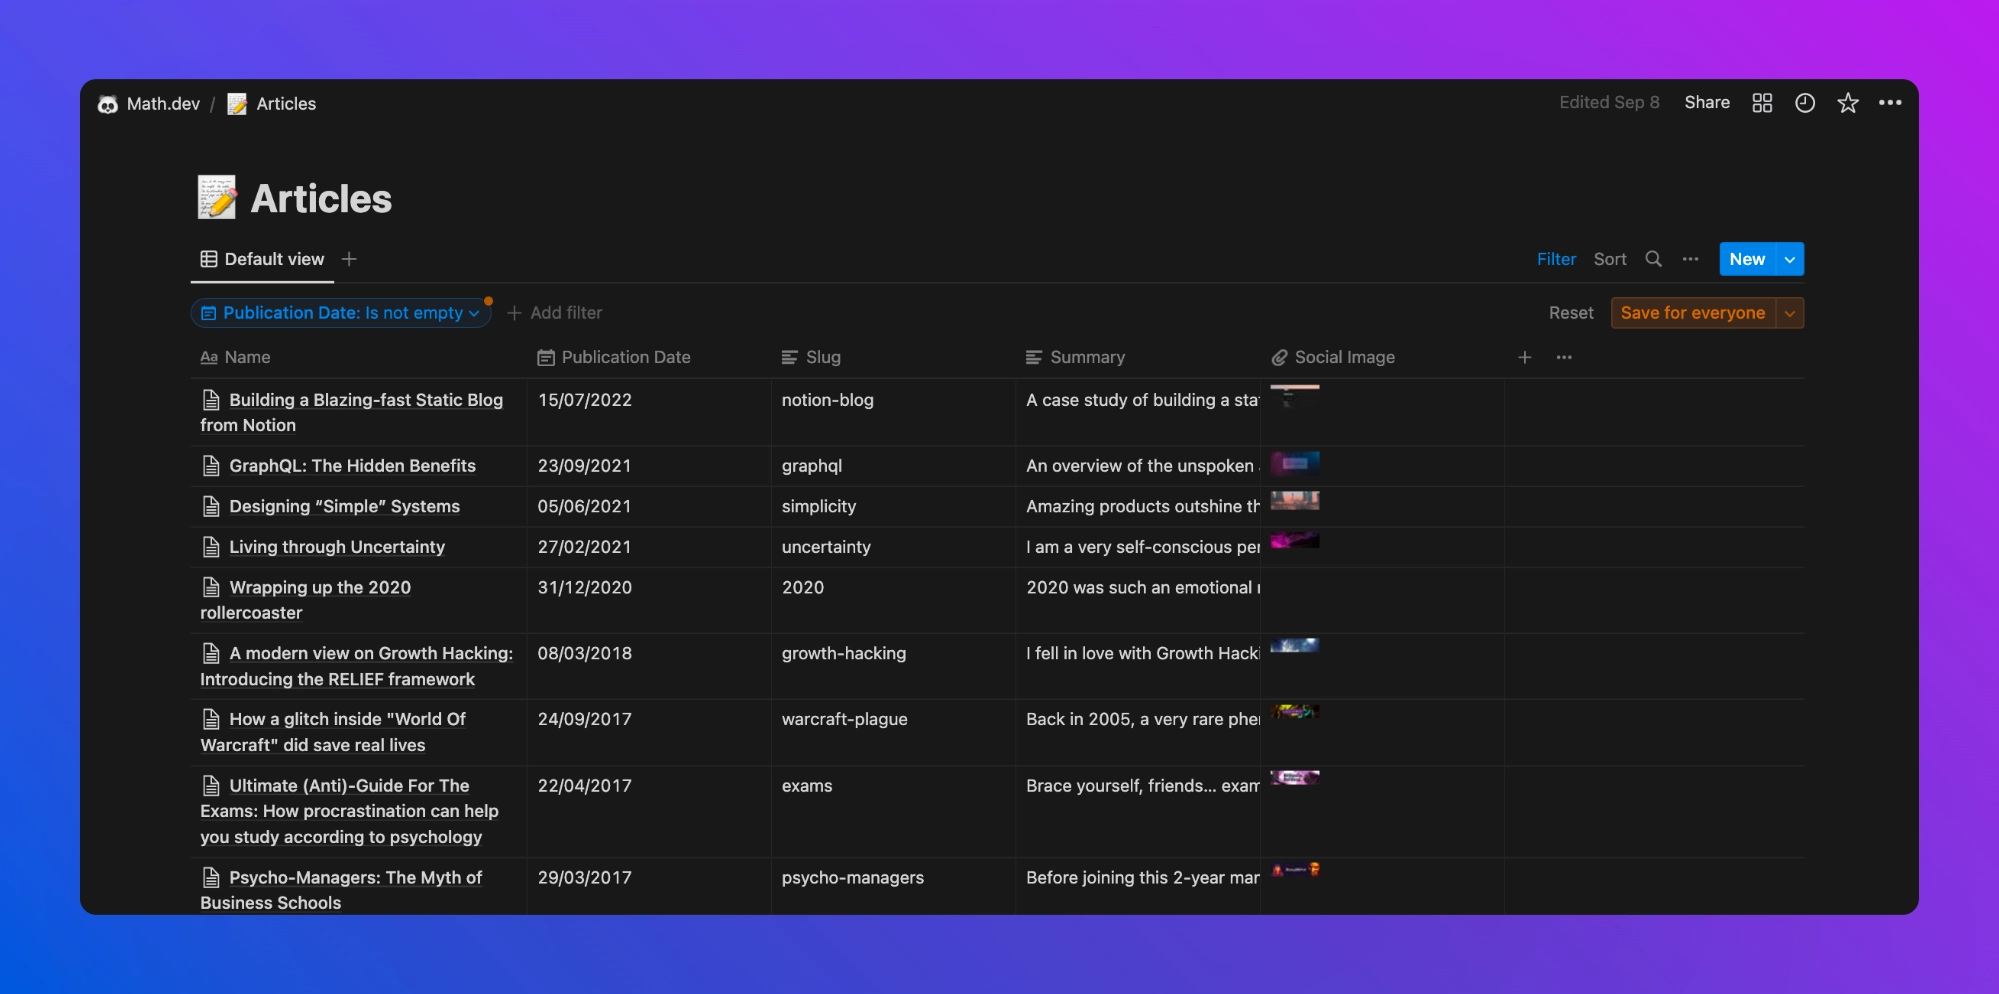
- Another Notion database for static pages.
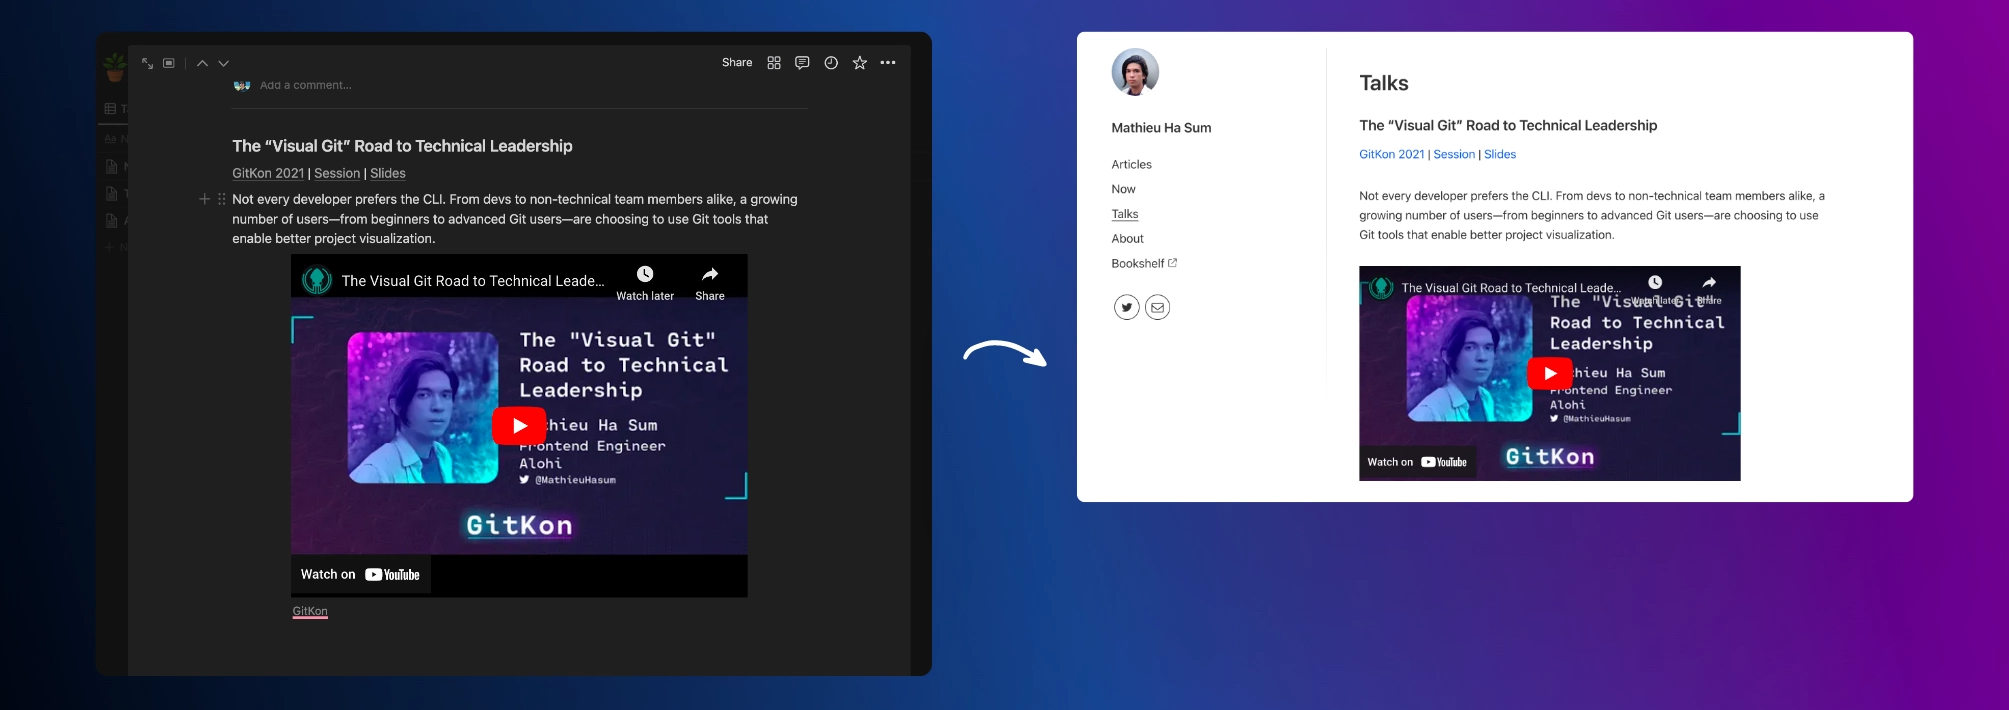
Each post is then written directly into Notion, including the text formatting, images (see further below), and even some more advanced blocks (e.g embed Youtube)
2/ Connect Notion to Next.js
In this case, we use Next.js and connect to the Notion API to retrieve the information about each page at build time:
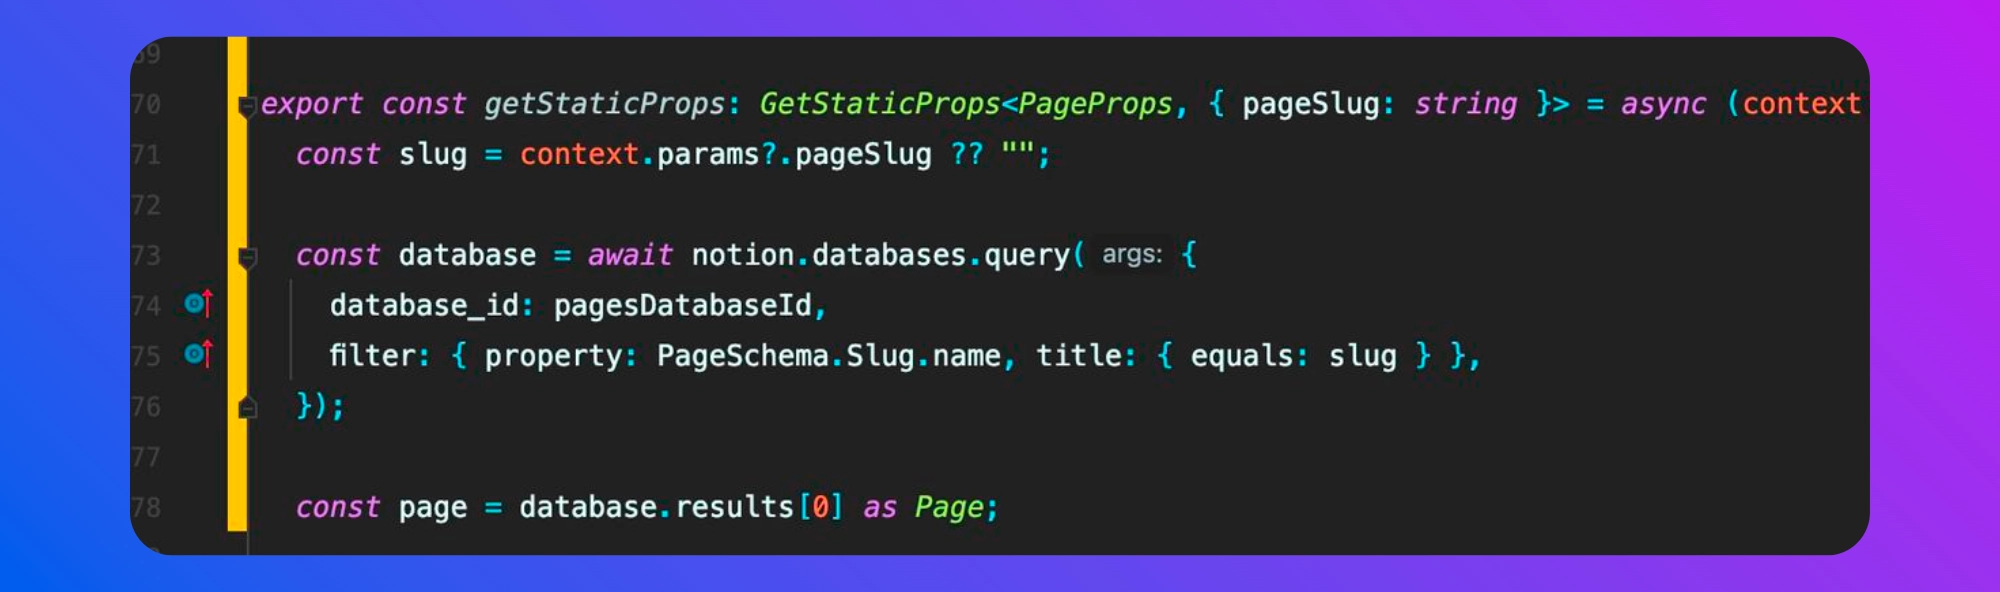
This is done for each slug (in an un-optimized and redundant way, but acceptable because this runs at build time).
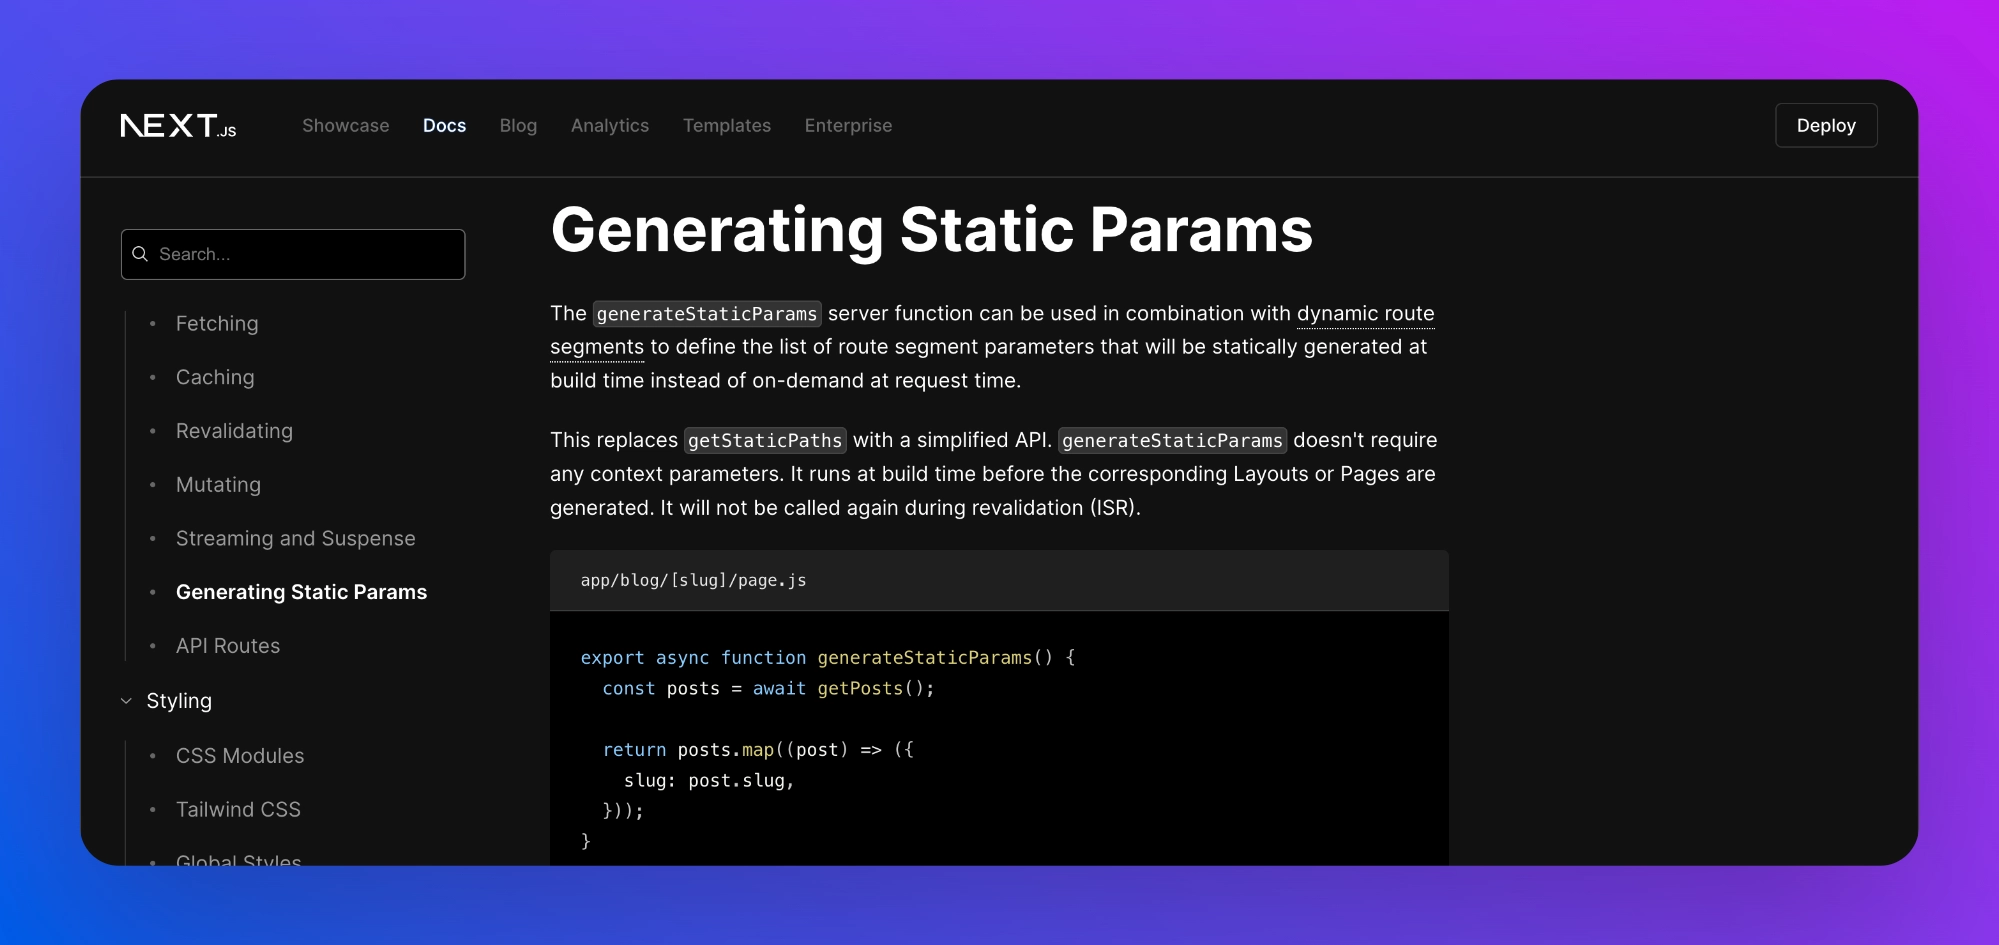
This request will run for every “page” that we have in the Notion database. The list of pages is fetched from getStaticPaths.
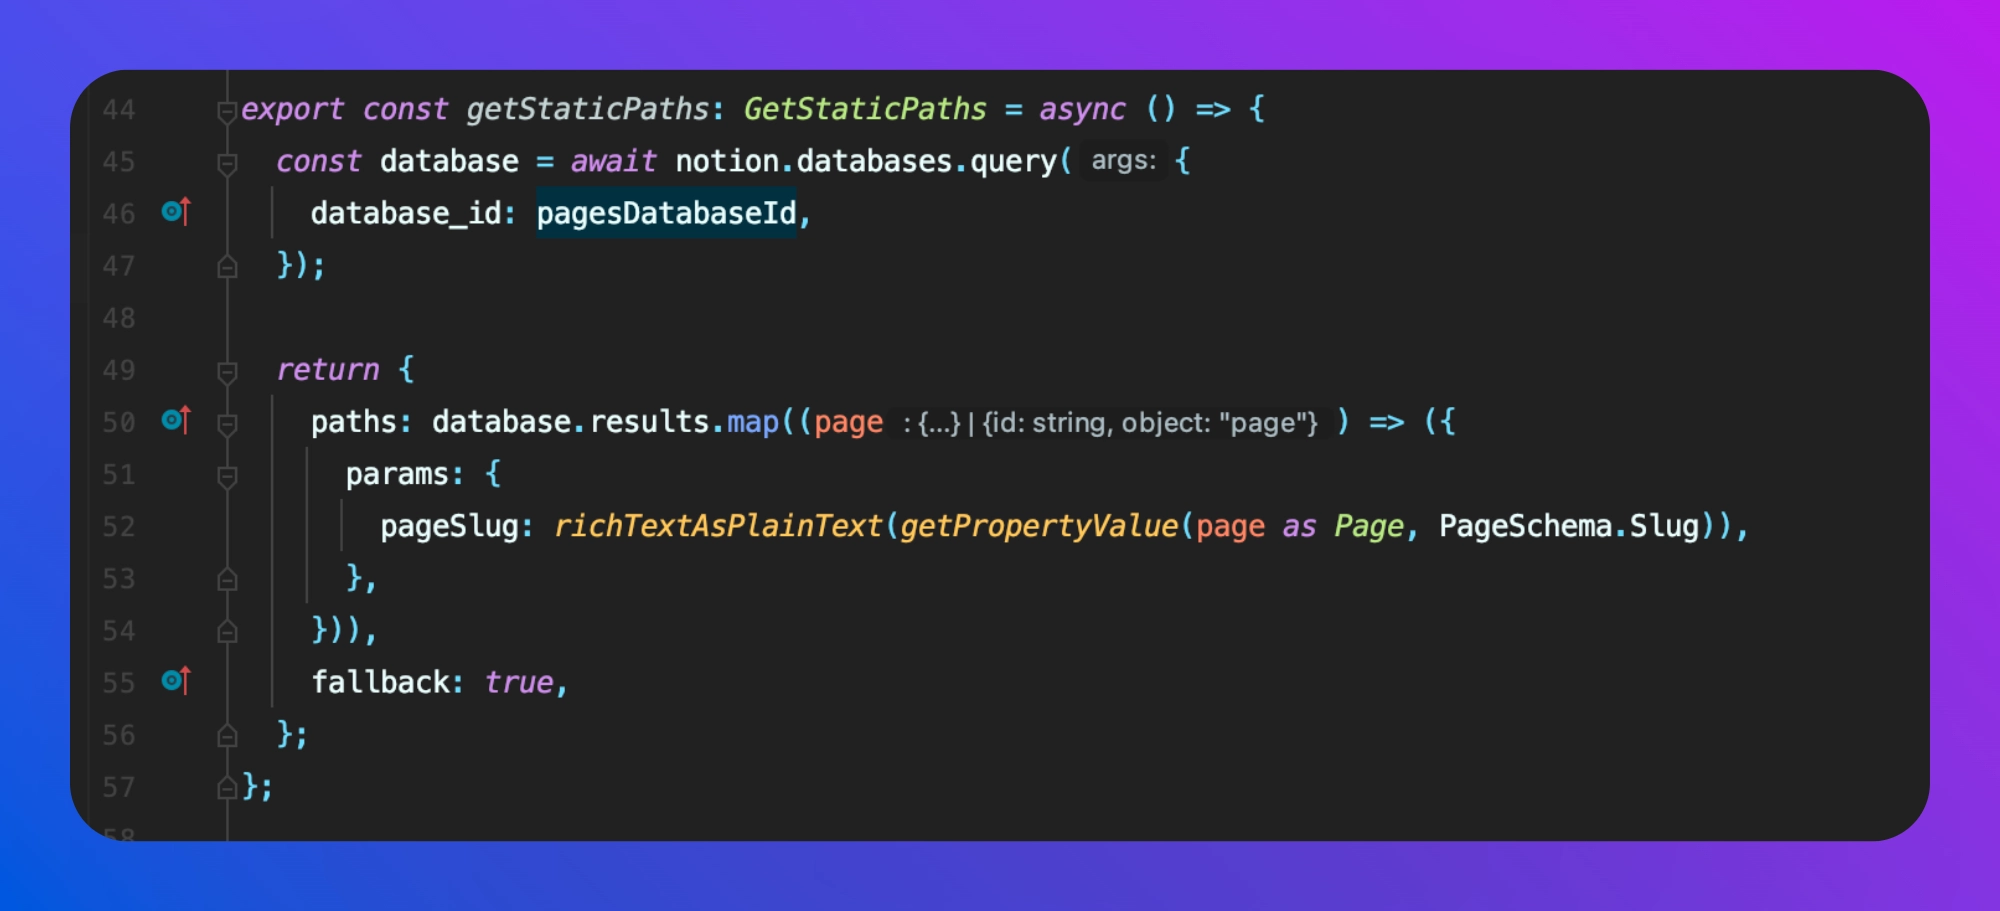
The examples are based on Next.js 12. But can be simply translated to Next.js 13 and server components. The getStaticProps can be replaced by simple external function calls, and the getStaticPaths needs to be replaced by generateStaticParams.
3/ Export Static HTML
While hosting a server-side web application can make sense depending on your use case, static websites are very compelling options for blogs. Even if there are more and more options to speed up your server-side rendering, nothing can be faster than a pre-rendered static export.
- No server computation
- No call to Notion API at runtime
Also, static exports can be cached and distributed through a global CDN (or any of your preferred hosting solutions) and are generally cheaper (if not free) to host.
To “render” a Notion block in HTML, you can get inspiration from the brilliant blog starter kit from @samuelkraft on GitHub: https://github.com/samuelkraft/notion-blog-nextjs.
For each type of block we want to support, we can map some simple TSX equivalent for our HTML render.
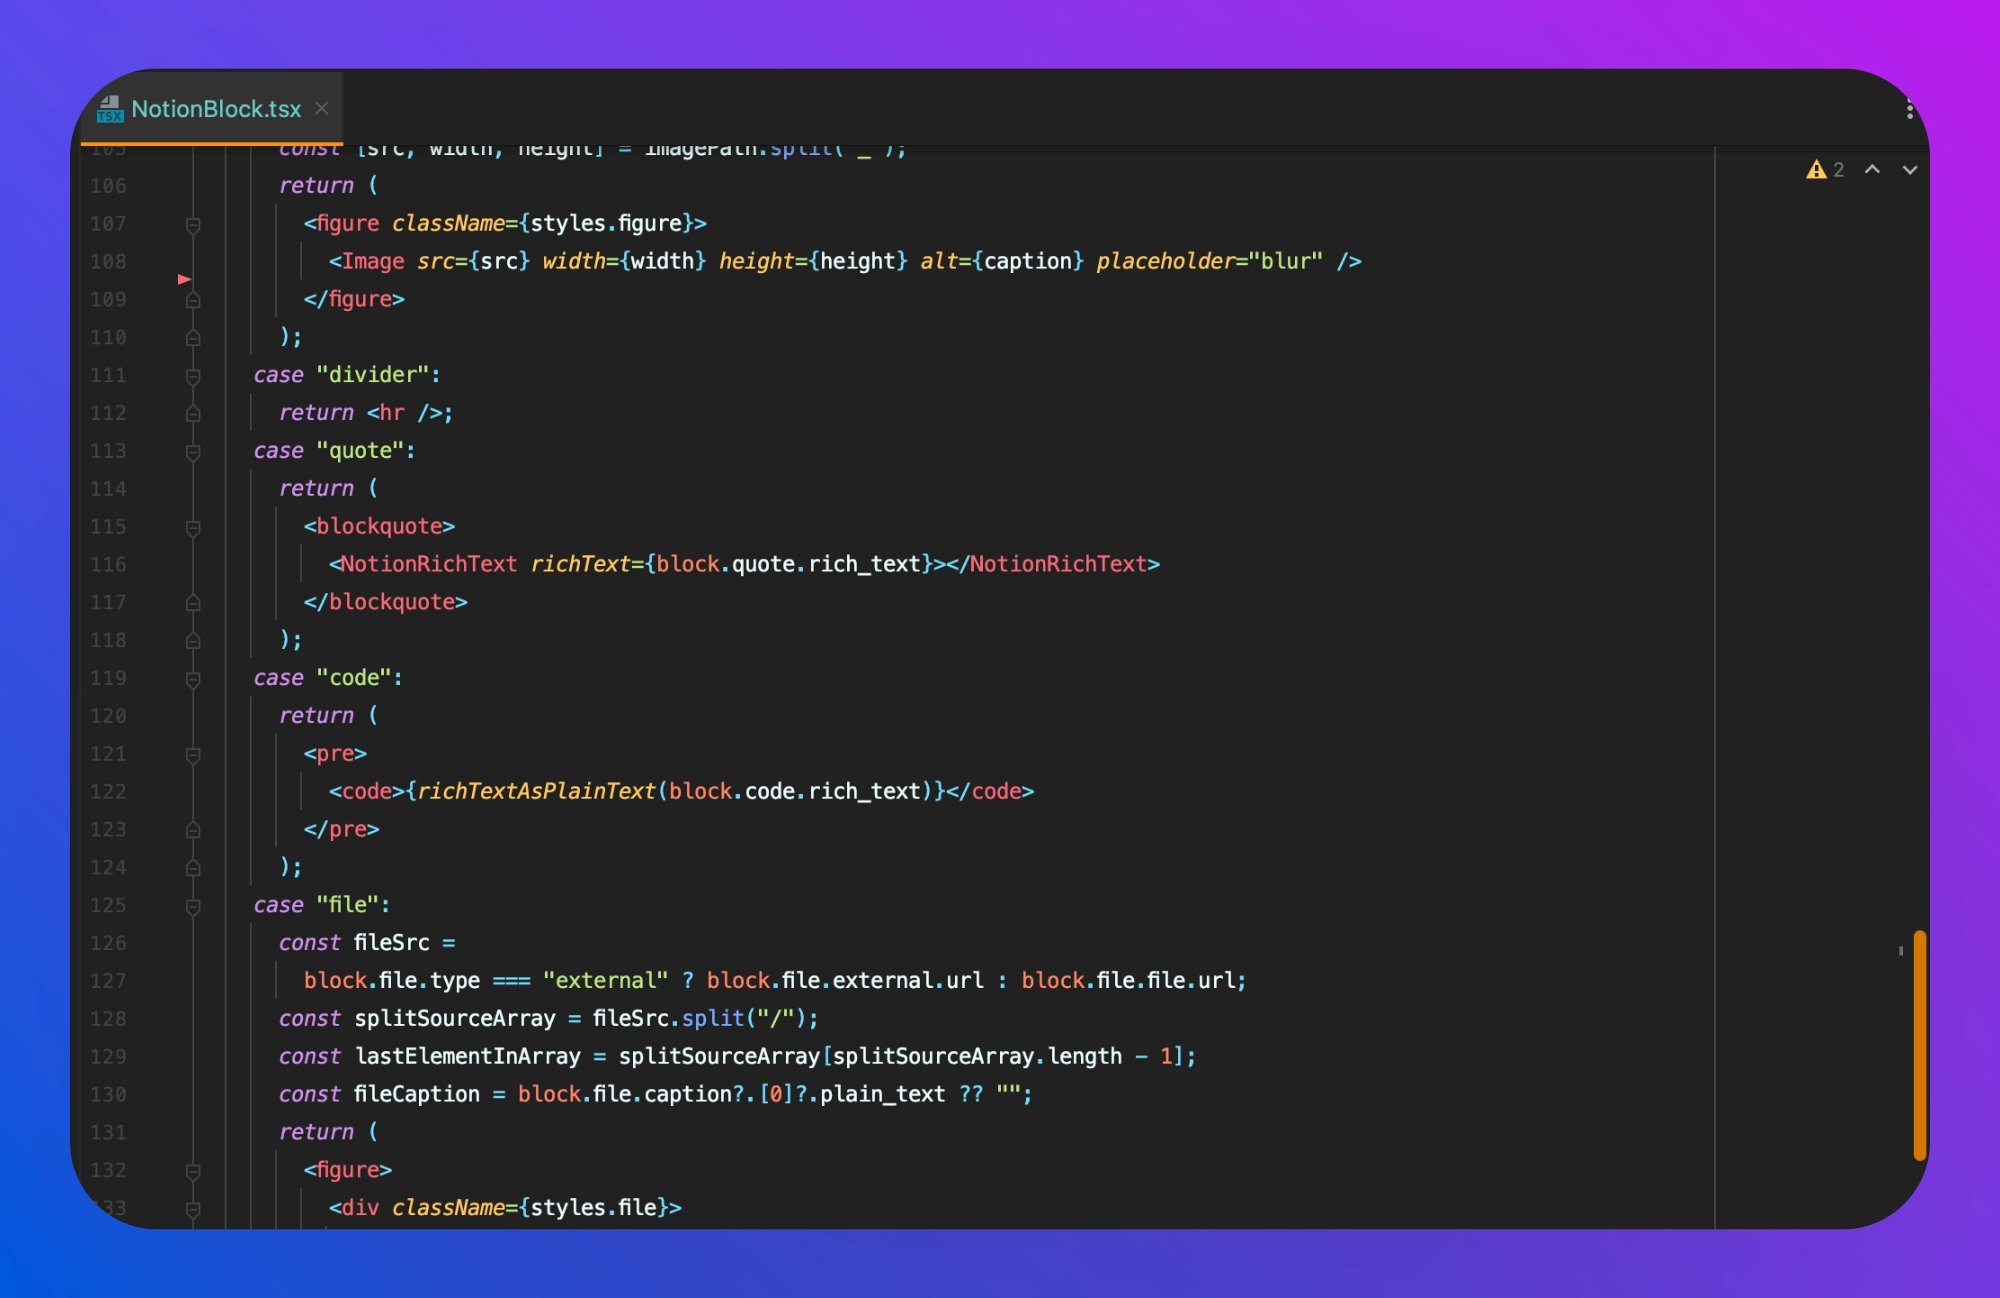
3/ Support Images
By far the most tricky part of this endeavor is dealing with images:
- ❌ “Asset links” from the Notion API expire after 1 hour, so you can not rely on these URLs to host the images of your static website.
- ❌ “Next/Image” optimizations (e.g reducing the size, avoiding layout shifting…) are currently incompatible with static exports.
Thankfully, using the library Next Export Optimize Images from @d_suke_09 can solve these issues.
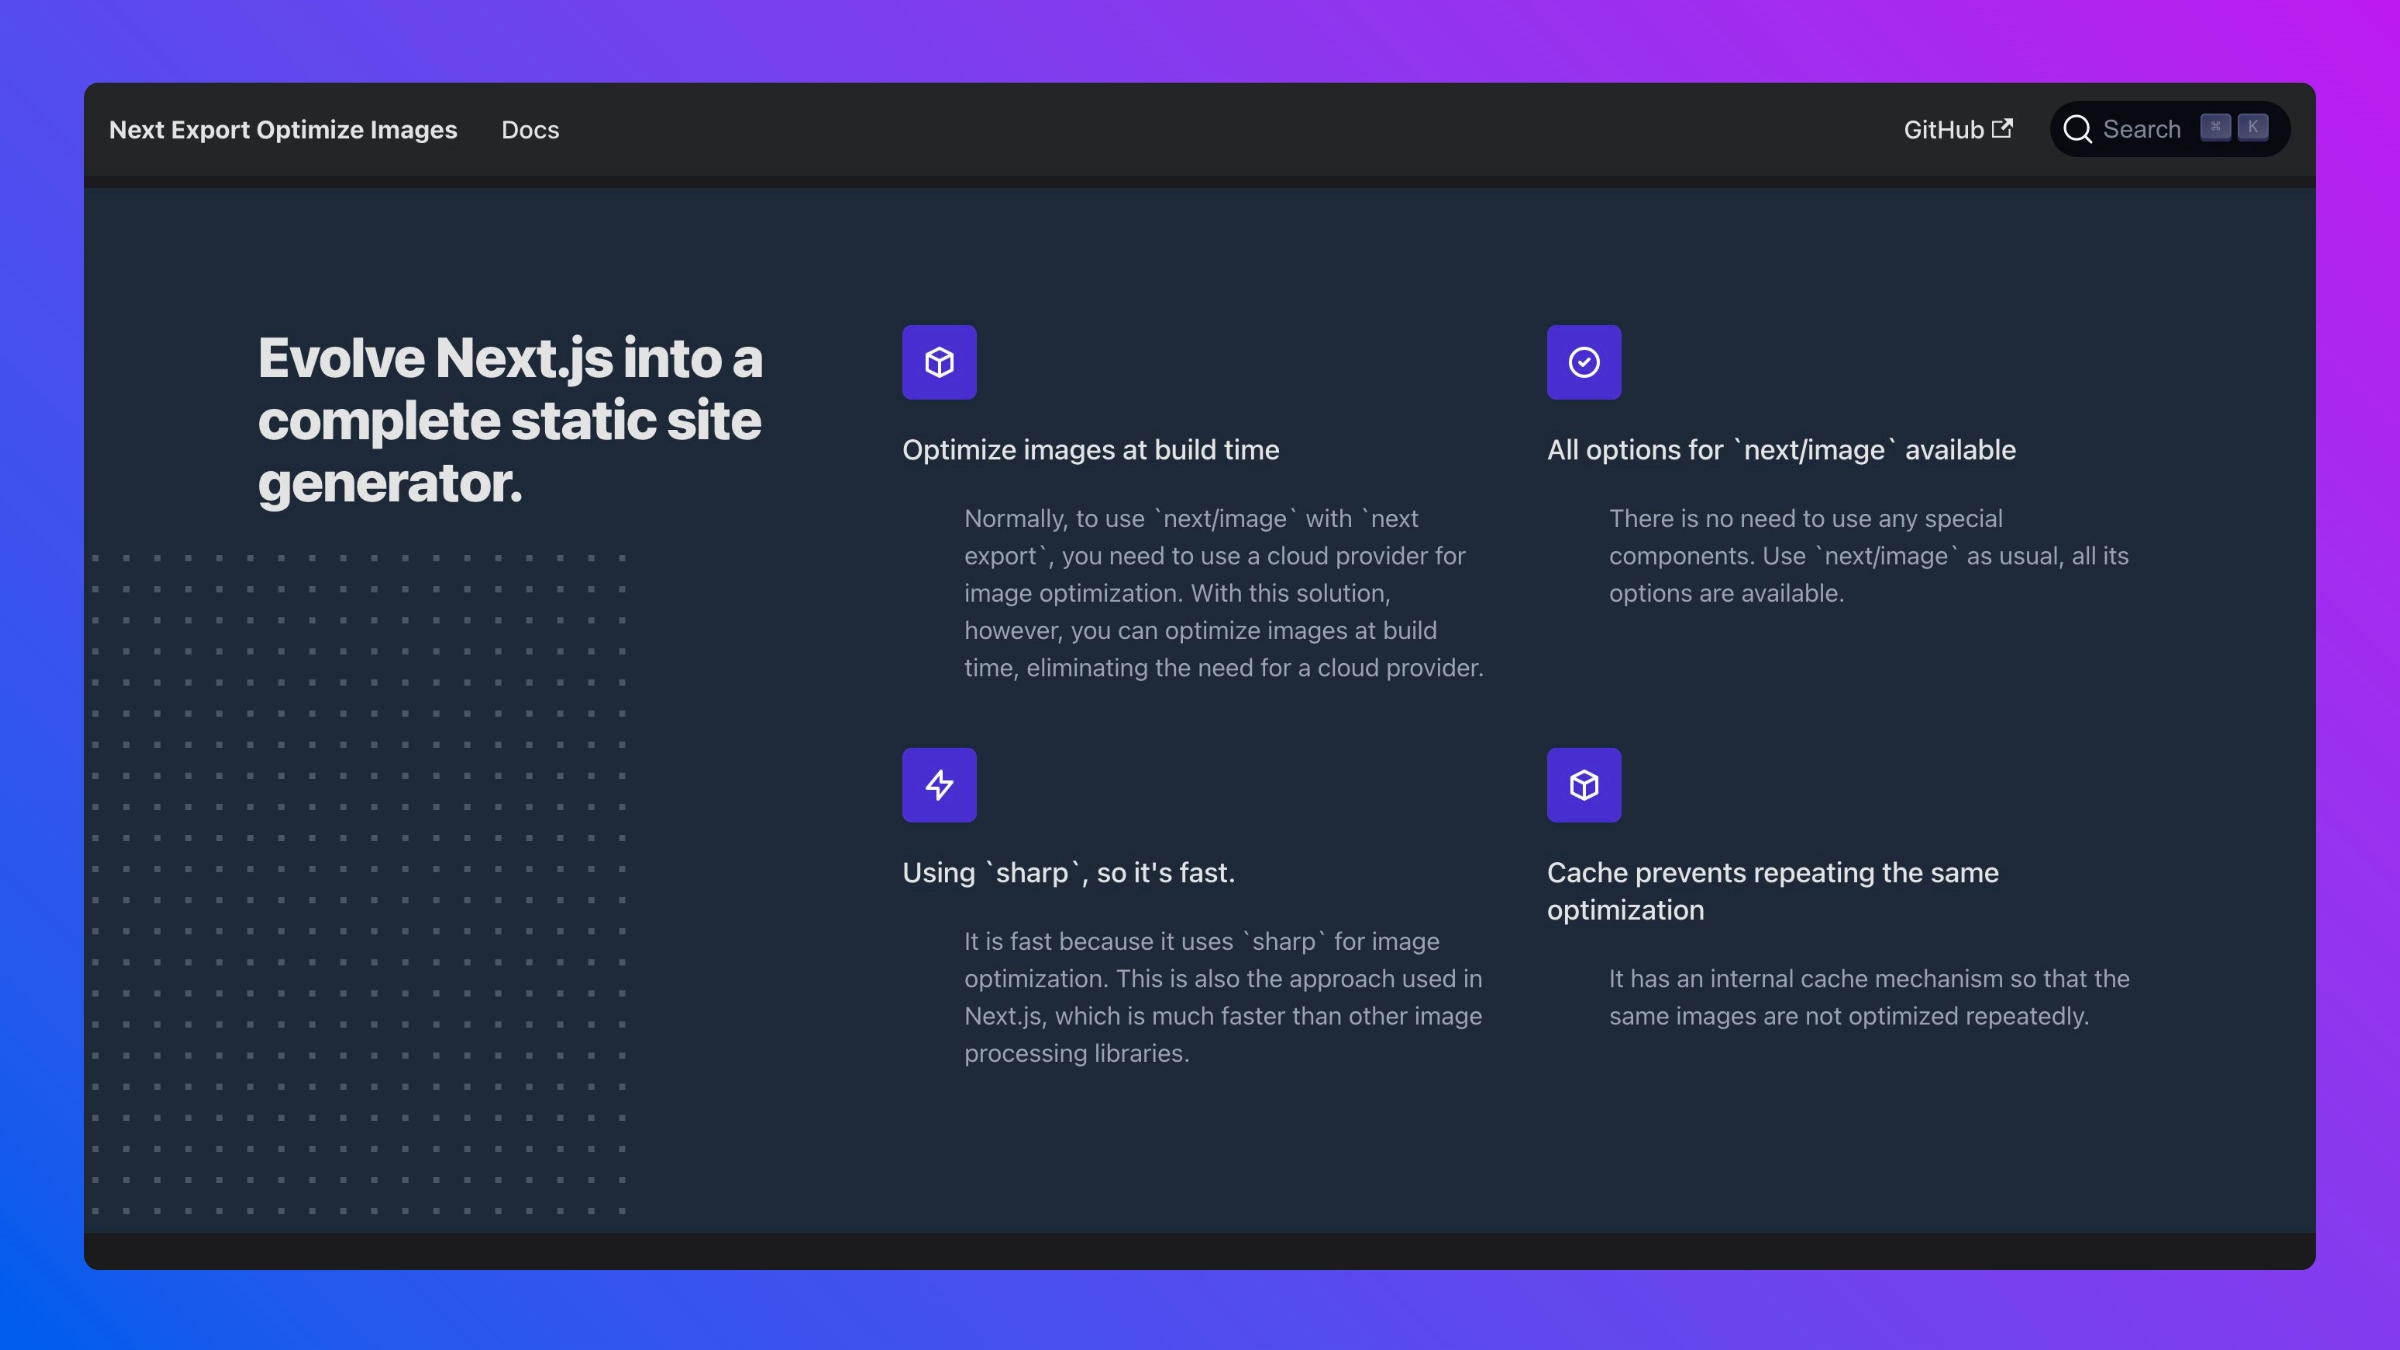
The solution used here is a 3-step process:
- Download images “locally” at build time
- Replace their remote paths with their “local” paths
- Use Next Export Optimize Images during the static generation
The ensureImageDownloaded helper function from notion-api can also be particularly helpful to avoid redundant downloads at every build.
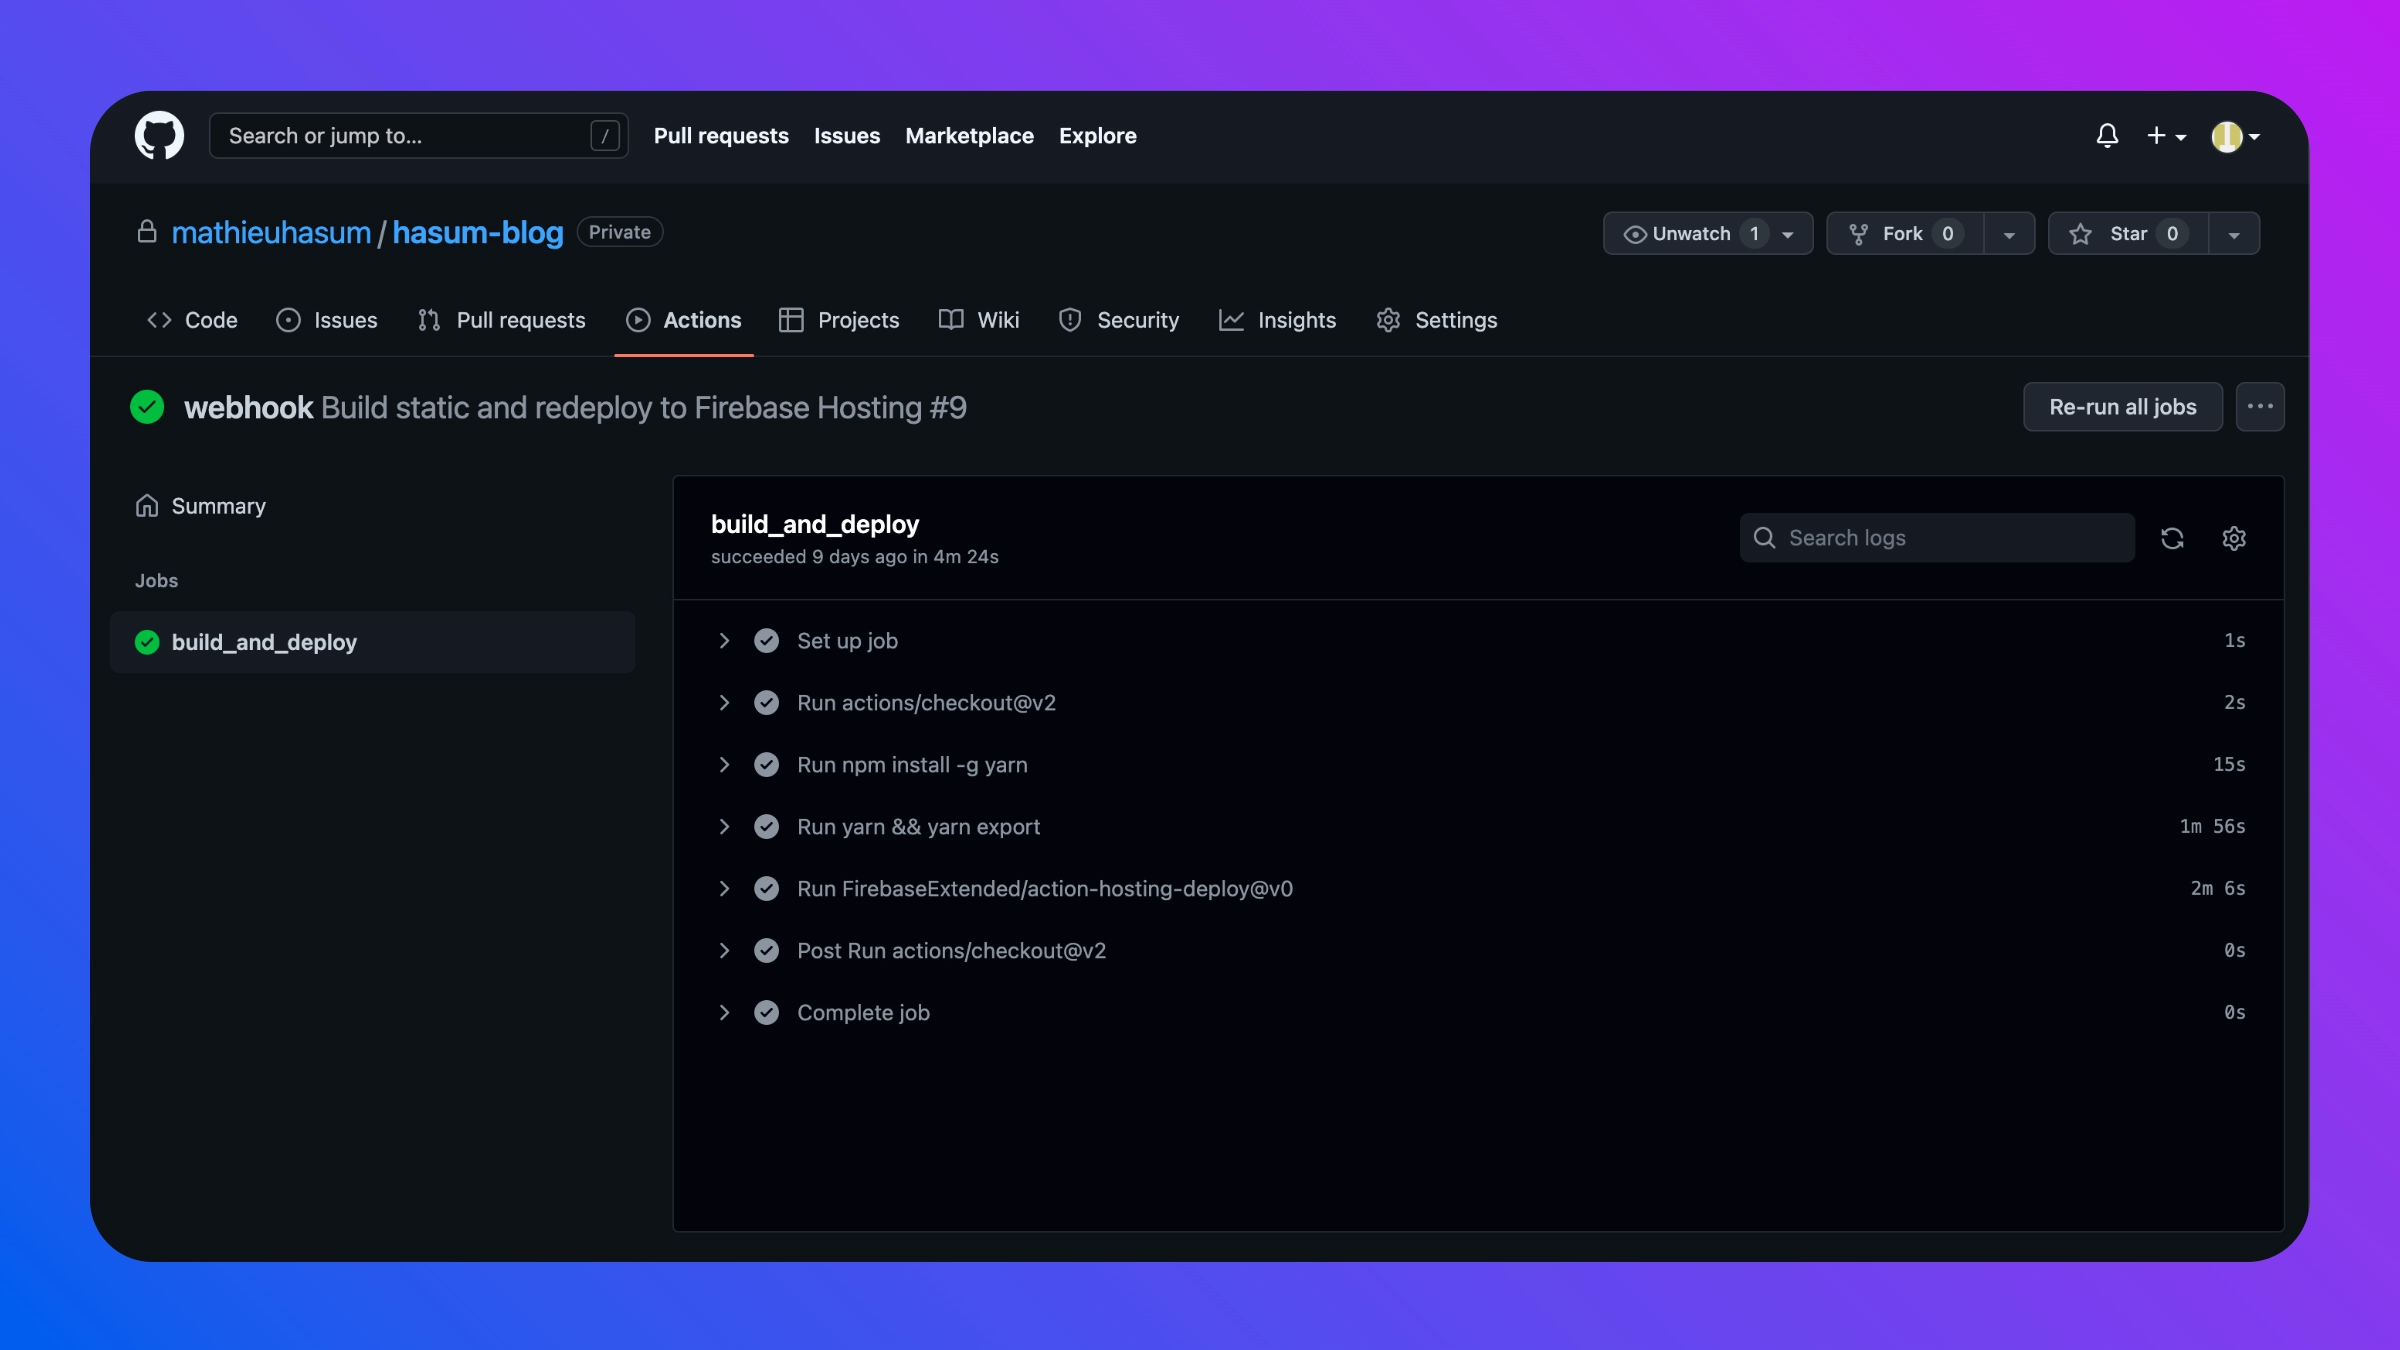
4/ One-click Deployment
Your goal should be to automate processes as much as possible so that devOps issues never come in the way of writing content.
GitHub Actions is a great way to automate the deployment of your static blog. You can set up a single command to build and deploy your site by configuring a workflow. This is the solution we chose here.
The first step is to create a workflow file in your repository. This file will contain instructions on how to build and deploy your blog. A good starting point is to use the GitHub Actions for Next.js template. This template will provide you with the basic configuration needed to build and deploy your blog.
Once the workflow file has been created, you can customize it to fit your specific needs. Here, we need it to run next export command and push the build result on the CDN. You can configure the workflow to run whenever changes are pushed to your repository, or periodically on a schedule (for example every day). You can also specify the environment variables needed to deploy your blog, such as the hosting provider, the production URL, and the deploy token.
Once the workflow has been configured, you can trigger the deployment process with a single command. This makes it easy to deploy updates to your blog without remembering all the steps involved. I personally like setting up a webhook so that I can trigger the deployment in one click, without even leaving Notion.